Inspection
The Inspections tab is used to prepare the checklists that guide operators in the SuPAR App, to review completed inspections and to export reports.
Open inspection
Open, create and delete checklists. Completed and incomplete inspections can be viewed — black cube icons indicate completed or partially completed inspections. Click the icon next to Name to change the inspection name.
Rename checklist
Modify the title of a checklist: when selected, a text field appears where the new name can be entered. Confirm the change to update the checklist name.
Checkpoint
Add checkpoints (POIs) and create inspection templates.
- Title: Enter a title.
- Group: Group the checkpoints.
- Step: Add checkpoint steps.
- Description: Enter a description.
- Message: Enter a comment.
- Require comment/photo: Make a comment or photo mandatory during the inspection.
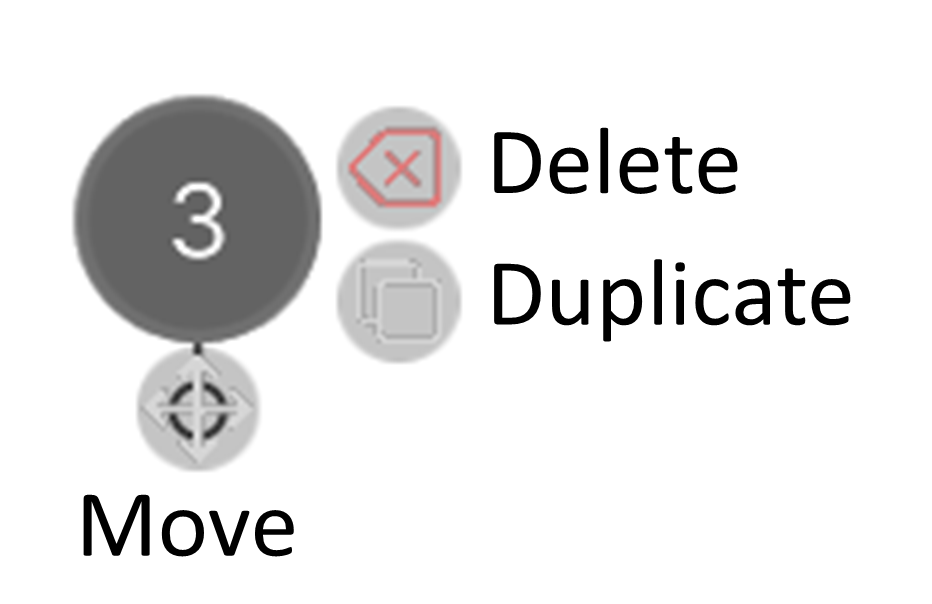
Hovering a checkpoint on the model shows its quick actions:
Create multi checkpoint
Create multiple checkpoints at once:
- Under the Checkpoint button, enable the extra option and click Create Multi Checkpoint.
- Select the parts where checkpoints should be added.
- Choose the POI location (Center / Pivot / Smart / Cursor Position) and press +.
- In the window that opens, add the Description and Message. Comment/Photo can be made mandatory with the checkbox.
- The multi checkpoint creation is complete.
Alternatively, after selecting multiple parts, right-click the model and use the context menu to create multi checkpoints.
Import checklist
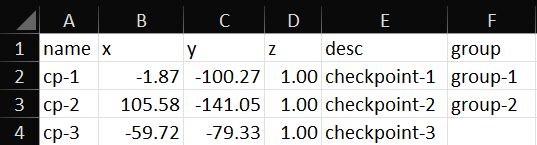
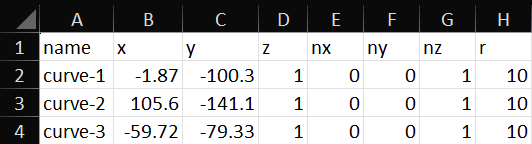
Import 2D circles (curves) and/or checkpoints automatically from .csv, .xlsx or .xls files.
- The order of X, Y, Z columns is not obligatory — use your CAD system’s order.
- Meter and millimetre coordinate systems can be used.
- Files cannot be imported while they are open in another program.
- Normal vector values (nx, ny, nz) are not mandatory since release 2024.1.
Checkpoint file example:
Curve (circle) file example:
Export inspection
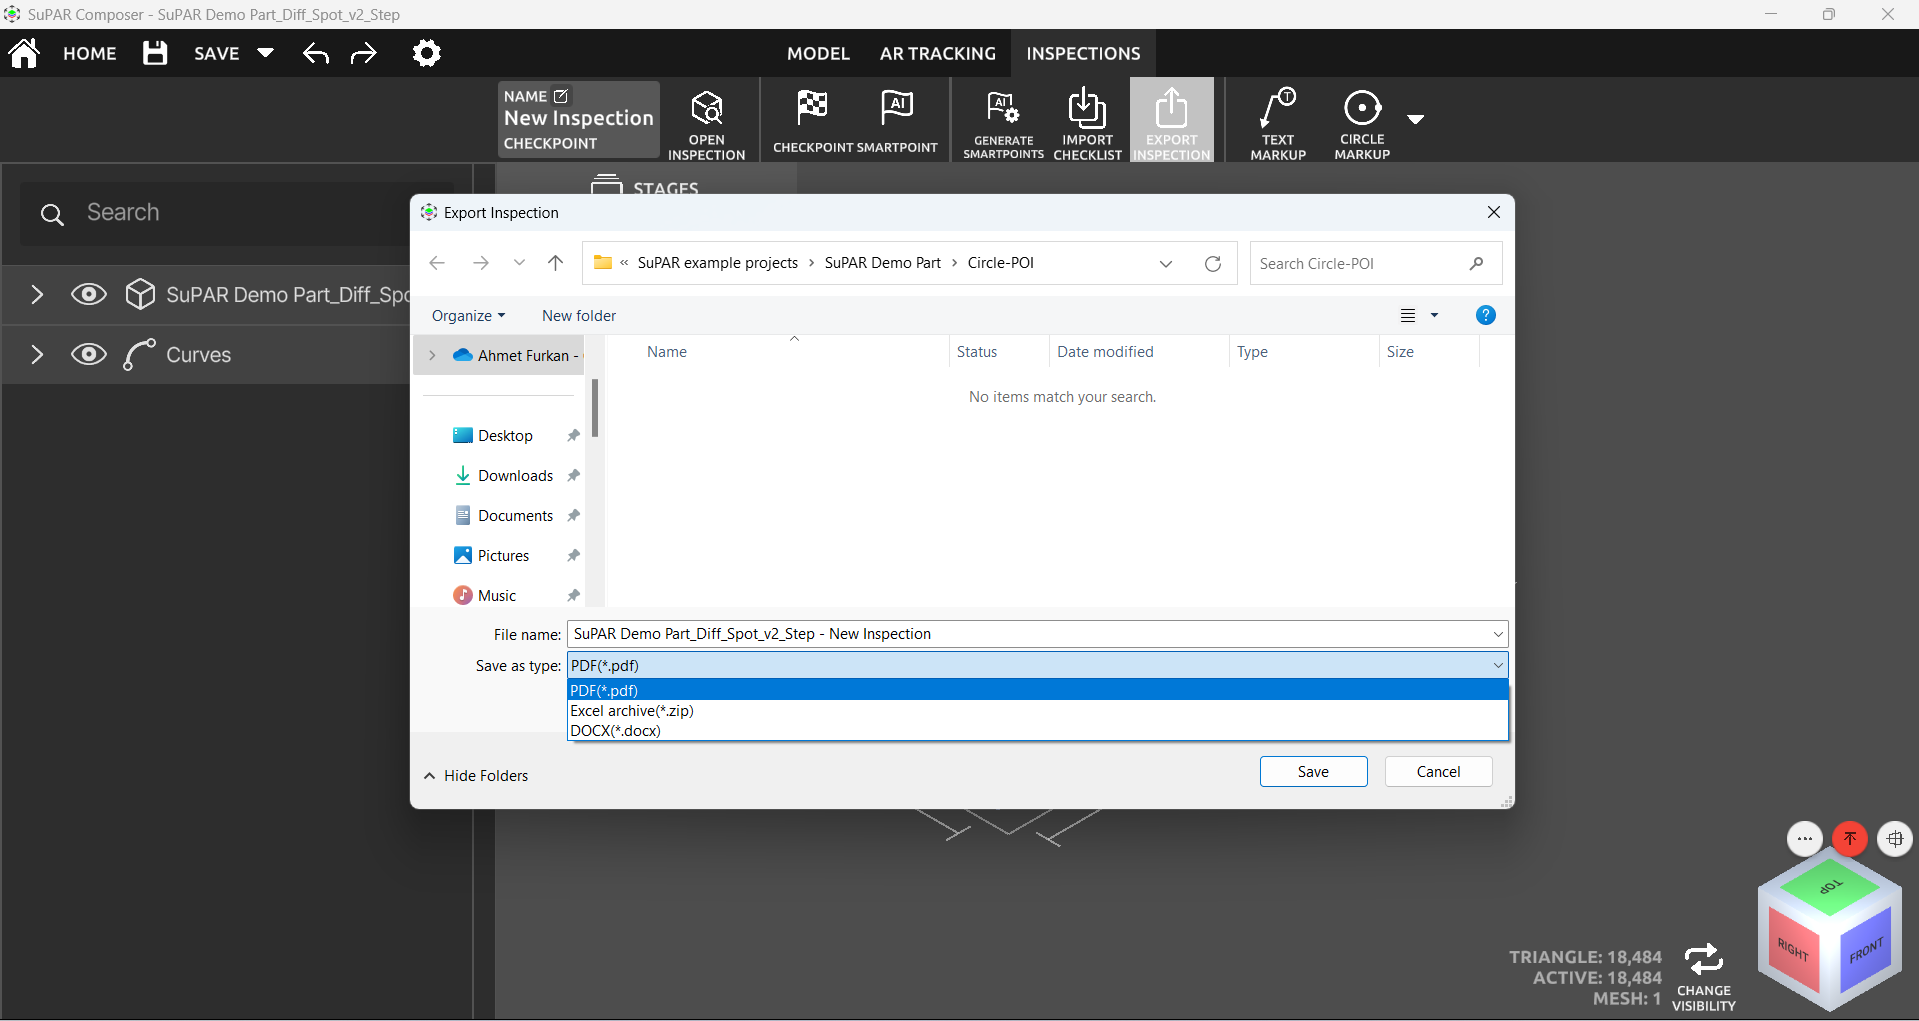
Export the completed inspection report as PDF, Excel or Word. The Word report is only available in SuPAR Composer.
- Click Open Inspection and select the completed inspection checklist.
- Click Export Inspection and create the report.
Markups
Text markup
Add text directly onto the 3D model — labels, notes or descriptions placed on the geometry that provide clear visual references within the model.
Circle markup
Create 2D circles on the 3D model. Three methods are available:
- Center Point Method: define the center point and the radius.
- Two-Point Method: define two points on the circumference to set the diameter.
- Three-Point Method: specify three points along the circumference.
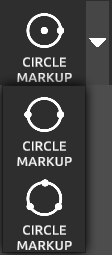
The tolerance circles created here can be used with the Generate Smartpoint command to create smartpoints.
Polyline markup
Create 2D lines directly on the 3D model to highlight areas, draw reference lines or indicate inspection zones. Polyline markups can be used for welding position tolerance and presence/absence control.